

It is bigger than the last one, finishing at about 20 inches instead of 18.

 It certainly used a lot more stuffing. Talking of stuffing, let me tell you what I did. Normally I would buy pillow forms from somewhere like Joann's, waiting until they were on sale for half off, or use coupons to get them 40% off. This week they were indeed on sale, 50% off, which I was very excited about. But still, they're not cheap. A normally $15 pillow form is still $7.50, and I wondered how I could improve on that. It so happens that this week the big bags of stuffing are also 50% off, making each bag $3 instead of 6. Now there is a lot of stuffing in one of those big bags, and I figured I could probably stuff two cushions from one bag, making it a lot cheaper.
 Today I tested that theory, and it turns out I was exactly right!

 I made two inserts out of cheap white muslin, which would have cost about 50 cents each. The bag of stuffing had exactly enough to stuff both my 20 inch insert and my 18 inch insert. Without much math needed, you can see that the $3 bag of stuffing divided into 2 pillows is $1.50 each, plus 50 cents each for the outer fabric means I made each pillow form for just $2 which is so much cheaper than the ready made ones, even when they're on sale! So that's your tip for the day - make your own pillow forms. Plus mine are stuffed a little more fully than the store bought ones, which is even more bang for your buck! (Now is anyone still reading after that ridiculous amount of simple, but boring math?!)
For the quilting on the back, I thought I'd do something simple and fast, just some pairs of straight lines.

Who was I kidding - simple? Fast? No!! Those darn straight lines took longer than piecing the entire top, and each piece used an entire bobbin! Aaargh! Next time I'll stick to my usual concentric shapes. So much faster as there is much less stop and go sewing.
I just followed the line of the logs for the front quilting. Much easier than that silly stuff on the back!


 The 20 inch pillow was so full of stuffing that the envelope opening was opening a little too much, so I just sewed on some velcro which was a nice easy fix.
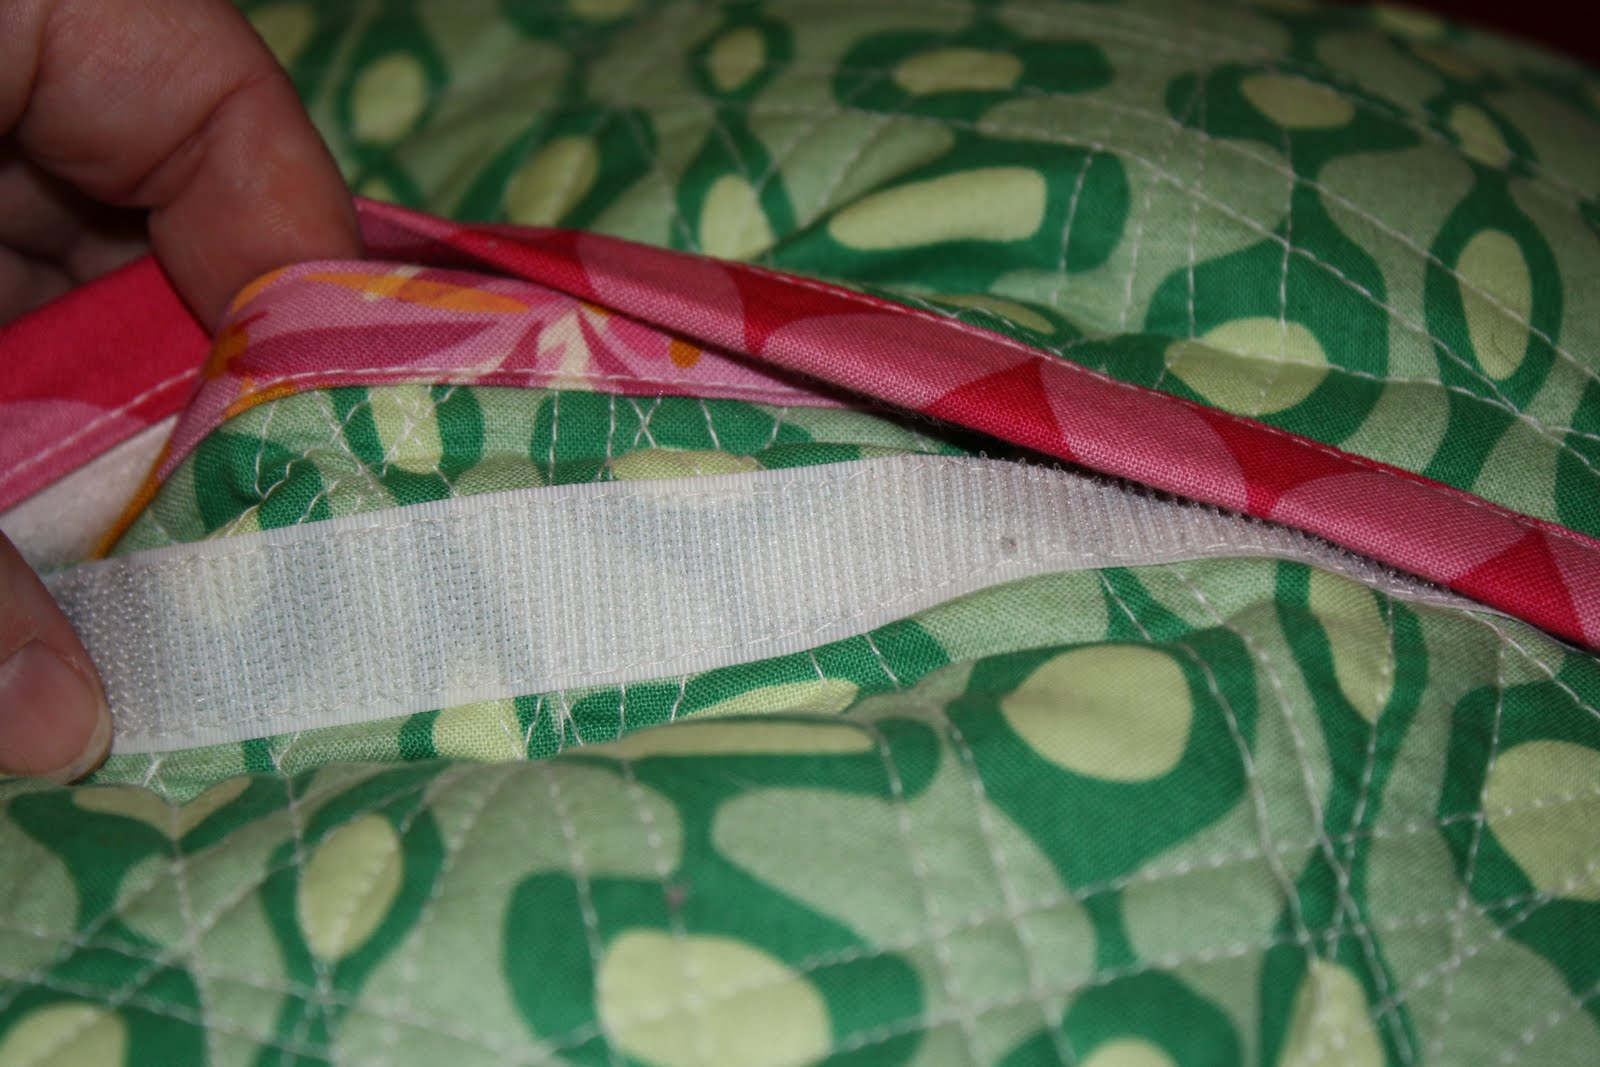
I definitely recommend the sew in kind. I have used sticky back velcro for the same thing in the past, but it just doesn't stay stuck with all the use a pillow gets.
And look who doesn't care in the slightest that there's a new pillow in the house...
 I think the next pillow will be something with applique. I'm ready to get back into the applique groove!
7 comments:
Great job on those pillows. You are making my progress look very slow...but mine gets hand embroided.
Just you turn your back, and the cat will be on top of that pillow!
Elzaan
Those look great! I had the same experience with making a pillow form when I was not thrilled with the price of the Joann's pillow forms. I thought the ready made ones were quite flat!
LOL! Quick, get your cat to the vet! Something is wrong!
I would LOVE to see an applique pillow from you... and I always love a thrifty hint. $3 sounds like a good deal on the stuffing- I always found that to be really expensive, too.
They look great! Loving that blue one!
Oohh, I'm dying to make pillows, good tip about stuffing my own!
Wow, those pillows look great. And yes I did read all that boring math because it's so cool that you can make a pillow for two bucks! And they're so pretty.
Thanks for the tip on pillow stuffing, I'm in the process of finishing up some projects and pillows are one of them. I told my friend I was going to buy new pillow forms and she told me no, now I see why. thanks for sharing, great pillows and fabric choices,
Post a Comment