The book is called "Learn to Do Applique in Just One Weekend", by Nancy Brenan Daniel.
 I emailed Nancy, the author, and did an interview with her, and she had some really interesting things to say, so before I get to the actual review, enjoy the interview!
1)Joanna: My favorite method of applique is needleturn. Do you have a favorite method and could you tell us why you prefer it?
Nancy: I use a wide variety of techniques... for different purposes. My favorite is the ONE that I know will work the best with the design at hand.
2)Joanna: Many quilters think "applique" is a bad word and are scared to try it. How do you go about convincing them how wonderful it is?!
Nancy: I start my beginners with simple shapes that have small challenges. I use a variation of the apple design from the book in ALL my shorter, duration, applique classes. I strive not to overwhelm students... ever. I'm not there to impress a student about my skills.I'm in the classroom to teach the basics -- and to have them succeed.
3)Joanna: There are so many fabric choices in the quilting world today. What style of fabrics do you enjoy and why?
Nancy: For most applique projects I use 100% cotton fabrics of high quality. I also work in wool, felt and silk.
4)Joanna: I like the different subjects you use in your applique. What inspires you
and how do you decide what you are going to design?
Nancy: For applique I let nature inspire me. I also look to art, older architectural drawings and building details (like grates).I usually carry a sketch pad with me at all times to jot down ideas.
5)Joanna: Most of us have very busy lives. Between work and children and commitments it can be hard to dedicate time to ourselves. What tips can you give for fitting quilting and applique into our busy day to day lives?!
Nancy: Even when I had small children at home I always made time to live a creative life. I've always been fond to using my time creatively. Even now I make use of very small units of time in which to work. I might sort fabric while waiting for the pasta water to boil! ;-)
6) Joanna: We know that you obviously love to quilt, but what other hobbies do you
enjoy?
Nancy: I love to garden - take long walks with my dog - read - draw - travel - COOK!
7) Joanna: You are a quilt judge, certified by the National Quilting Association Inc. What are the most common mistakes you see when judging? Any tips for people
entering a quilt into a show?
Nancy: Take your time planning and finishing any quilt you plan to enter in any show. Most errors I see are in the planning, contrast, AND in the binding. Learn to take good digital pictures of your quilts.
8) Joanna: Some of us would like to teach our young (as in not adult) children how to quilt - what are your suggestions on how to approach this and make it a good
experience for all involved?
Nancy: I started my granddaughter hand piecing when she was five years old. She made four-patch that we converted into a pot holder for her Mom. Her stitches were long... but everyone was pleased with the results. ALTHOUGH... I don't think it was every used as a potholder!
9) Joanna: Where do you see the world of applique in 5 years?
Nancy: More of the same I would presume. BUT... I would like to see more turned-edge applique in studio/art quilts.
10)Joanna: What is your single best applique tip?!
Nancy: Use very fine thread for hand applique... I don't care if it's poly, cotton, or silk. Use a fine needle for hand and/or machine applique. Take your time... it's a marathon... not a sprint.
Thank you Nancy for your insight - there is a lot to think about in there and some great tips!
Onto my review...
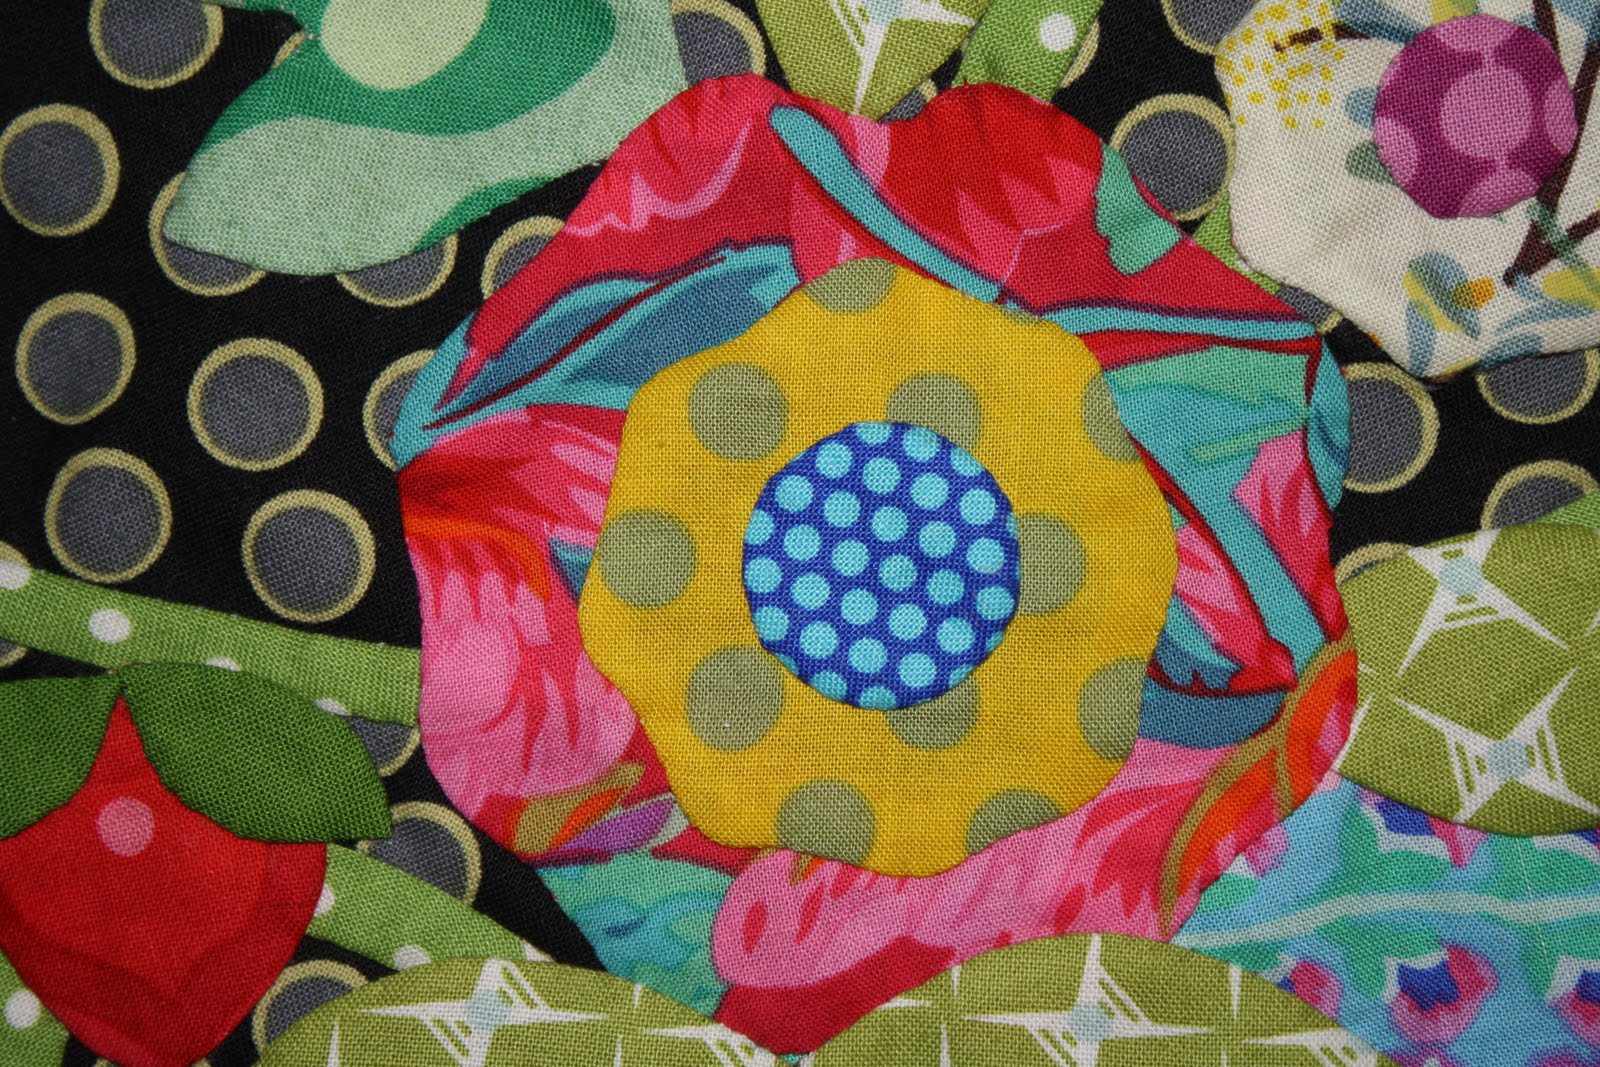
I was assigned the cover quilt to review, and I liked the center of the quilt so much, I decided to not just read and review it, but make it too.
 Now anyone that reads my blog regularly knows that needleturn applique is my applique method of choice. I have tried every method out there and I keep coming back to needleturn. However, for this project, I used the method as written in the instructions, and it was actually a method I've never tried before! The instructions for this project were to use one of 2 different methods of freezer paper applique. Before I was a needleturn enthusiast, I used the freezer paper method where you iron the freezer paper to the wrong side of the fabric and use a glue stick to glue the seam allowance to the freezer paper. However, that's not the way I did this project. Instead of ironing the freezer paper to the fabric, you flip it, shiny side out, and iron the seam allowance to the freezer paper. No glue stick needed!
I took photos to show you how it works...(for detailed written instructions, see the book)


 The first few pieces were a huge learning curve for me. It took me a while to get the feel for it, but once I did it became much faster.
 There are some advantages and disadvantages to this method. For me, the biggest disadvantage is the time it takes. It took me 4 hours to iron the seam allowances to the freezer paper patterns. That to me, is a long time for one block.
However, there are distinct advantages. The first being how easy it is to lay out your block. Because the edges are already turned under, it's easy to see exactly where your pieces will fit.
The second big advantage was the actual stitching. The stitching was a little faster because I didn't need to turn under the edges with my needle as I went.
I also liked that I got to do a bit of reverse applique in this project. I had done a little of it in the past, but not a lot, and it was fun to try again!


 So would I recommend this book? Yes, I would recommend it, definitely to the beginning appliquer. Nancy goes over ever applique method out there, with detailed instructions on how each method works. She also describes in detail every tool you will ever use for every method of applique. I wish I had seen this book when I first started appliqueing.
 If I had a complaint it would be that the full page color photos of each project are lumped together in the middle of the book. I prefer them to be with the instructions. But that's just my personal preference. I'm sure some people prefer it that way!
And finally, you can't beat the price - $9.95. It's not a big thick book - it has just 64 pages, but everything you need to know about applique is in there.
As for the block I made, I plan on turning it into a cushion cover this week, so stay tuned to see the finished project!
 And while you're waiting to see that, head on over to the other blog hop participants blogs and read their reviews of other projects in the book!
Jessica Kovach -- http://twinfibers.blogspot.com
Judi Madsen -- http://www.greenfairyquilts.blogspot.com
Stacy Gandy -- http://sewbutterfly.blogspot.com