Tuesday, August 31, 2010

Tree Block Tutorial

It's been a while since I've done a tutorial and I've been quite into all things 'tree' lately, so how about a tutorial on how to make modern pieced trees with a touch of applique thrown in for good measure?! You might remember I did a practice block that looked like this...
...back in this post.

Here we go....

1) We need to cut some fabric! First, decide on the unfinished size block you want and cut your background fabric that size, in my case 9.5 inches.
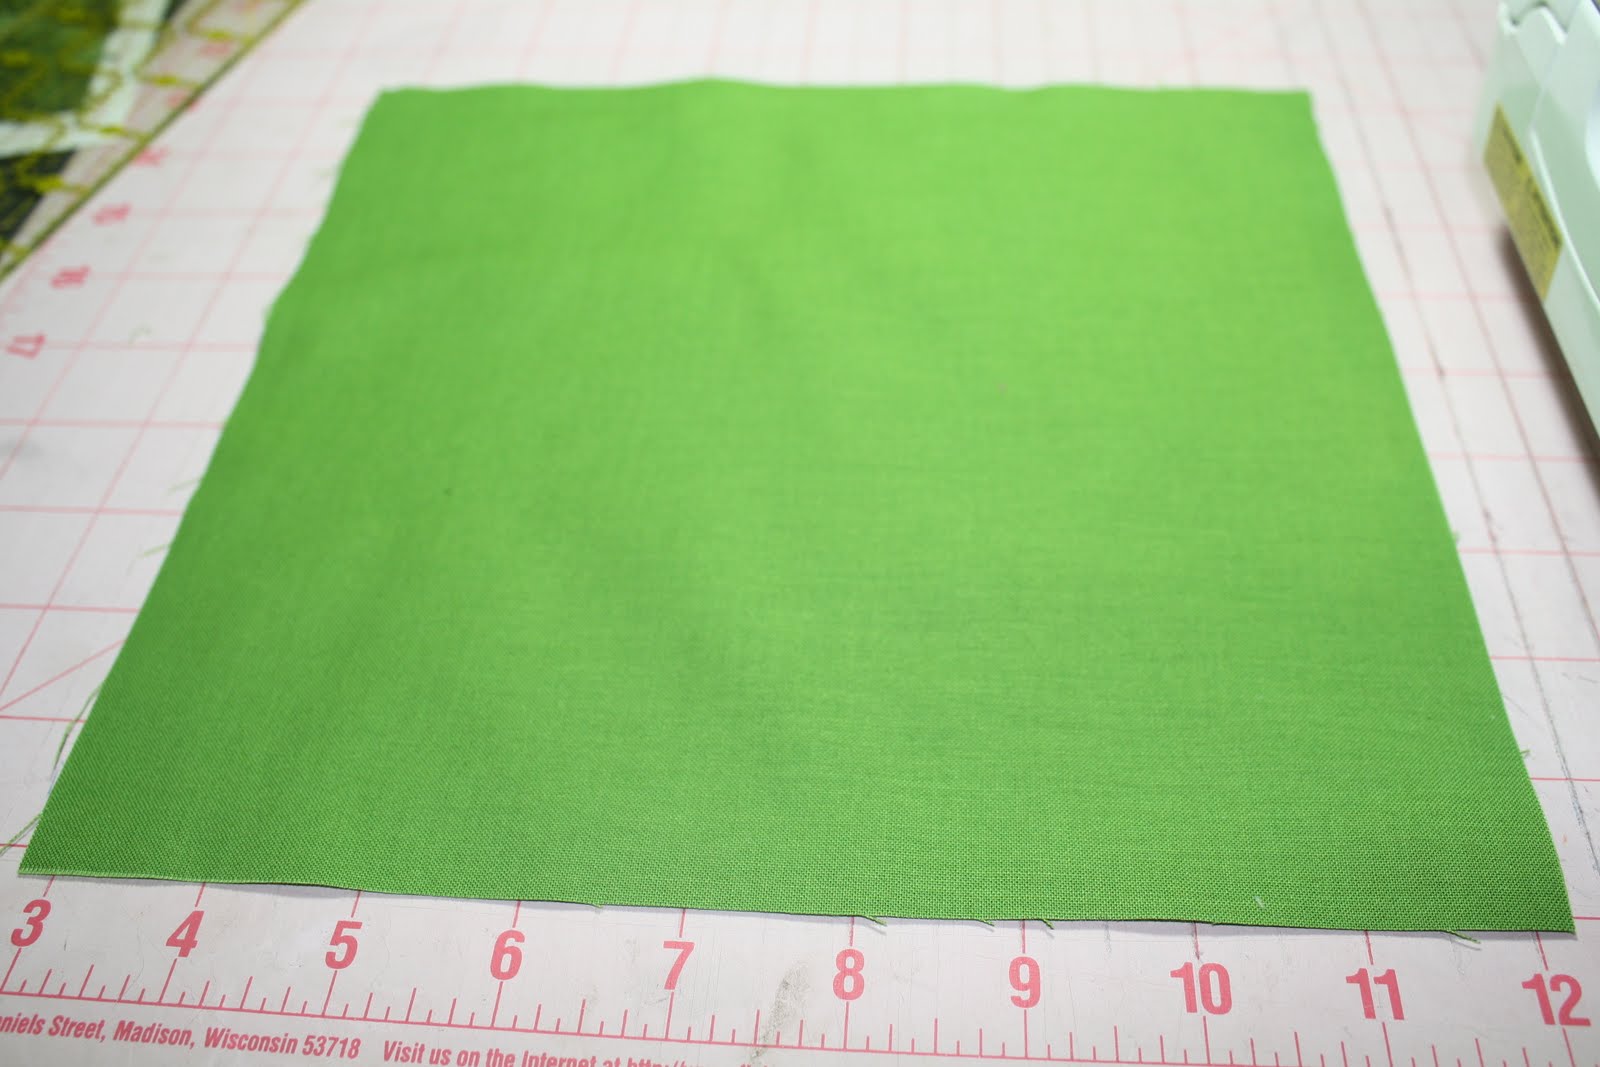
I am making a wallhanging with 9 blocks, so I cut 9 pieces. We also need to cut strips for your tree. For this particular block I wanted the trunk to be wider than the branches, so I cut a 1.5 inch wide strip for the trunk and a 1.25 inch strip for the branches.
You can cut your strips any width you want. You could even have a skinny trunk and wide branches, you could taper your strips, or have them all the same width. It's up to you!

2) Now the fun begins - slicing! We are going to slice the background fabric to make a trunk and branches. You can slice it at any angle you want. It doesn't have to be straight up and down. First the slice for the trunk...
and then the branches...If you separate the pieces out, you can get a preview of how your tree will look!Now is the time to do any more cuts if you want more branches!


3) The sewing begins. I used a dark thread here so you could see it, but you should match your thread to your fabric. Leaving a good hangover on each end...
...take your 'branch' strip and sew it to one piece of your background like so...Then sew it to the other piece...
Repeat for the other branch and finger press the seams towards the branches.

4) We need to clean up the inside edges now. You will notice that all the edges get out of shape as we go but don't worry, we can fix that......Get out your rotary cutter and ruler and make those inside edges nice and clean again...
Don't worry about the outside edges - we will do them last.5) Now that we have nice edges again, we can attach the trunk! (can you believe you have almost finished the block?!)
Just do the same thing as you did with the branches. Leaving an overhang on each end, sew the trunk to one side...Then the other...
6) Press the block, making sure the seams all face in towards the branches and trunk. This just helps the tree to 'pop' a little more than if you pressed them the other way.7) Now it's time to clean up those outside edges! Trim your block to the original size you started with, in my case, 9.5 inches.Looks great, doesn't it?! Now you can either leave it as is, or do my favorite thing in quilting and add some applique!


8) I just cut a simple leaf shape and needleturn appliqued them on. You of course could use any method you like.
I wanted to keep the lines simple on this quilt so I am just doing a few leaves on each tree, more of a suggestion than a realistic amount. However, you could do as many, or as few as you want. You could even applique on a bird, a nest, an owl, a squirrel, some grass, your cat - anything at all. These are your trees!

And that's how easy it is. You could also make twigs coming off those branches by slicing your background pieces even more way back in Step 2. There are so many possibilities!

These are the two I have done so far. Yes all my trees are going to polka dotted ones! The applique on the blue/brown tree is still in progress.
If any of you make some of these easy trees, I'd love to see them, so let me know, and I'll show off your photos here on my blog.

And as usual, if you have any questions, just ask.

Wednesday, August 25, 2010

Presents

I had two occasions in the last week or so to make presents. Having some 'skills' with fabric comes in handy when such occasions arrive!

First up was a bridal shower. I thought a framed raw edge appliqued with the couple's last name would make a good present. After some sneaky sleuthing (which means I looked at their bridal registries online!) I figured that all the linens they liked included blue and brown, hench the choice of colors.
The bride's current last name is Gray, (yes she is going from Gray to Brown!) so I made the 'O' Gray to show that even though she is becoming a Brown, there will always be a bit of Gray in her! Yes, cheesy I know, but most things to do with weddings are cheesy, right?! It's one of the only times being cheesy is a good thing!

And secondly my daughter went to her friend's 9th birthday party. Sofia chose the fabrics and I make a library book bag.
And Sofia chose a book to go in it. "Dear Dumb Diary" seems to be her favorite series at the moment.

We have had a wonderful couple of days of cool weather and rain. It gets so hot in the Summer here that it's been a wonderful relief. The only people not enjoying it are my friend Brenda who is getting new windows installed today - in the rain - with workmen trapsing mud all through her house....and our cat Mittens who really wants to go outside and do his business but really doesn't want to get wet!
Personally, I am loving the rain. Perfect quilting weather!

Friday, August 20, 2010

Tree crazy

Remember in my last post when I said to watch this space because another tree was coming?! Well here it is...(and quite fittingly, it has a shadow cast on it by the branches of a tree above)Just a quick little quilt this time. It was actually a practice tree for a bigger quilt I'm working on. I started off with just the pieced tree and thought hmmmm I think it needs some applique, and since I live in New Hampshire, and Fall is on the way, red leaves were in order. I like the simplicity of the modern pieced tree and the traditional appliqued leaves. For anyone who is into the new trend of 'modern' pieced quilts, and wants to try applique but is too scared, this is the perfect thing to try it with. Nice and simple. Applique doesn't have to be elaborate at all.

I was able to fill in the gaps with the quilting. Extra branches and leaves...A bird on a limb...And grass below...It wasn't until I showed it to my husband that he said, "Oh it's a Fall tree, right?" I told him that it wasn't any particular season, just a tree. He said, "Sure it is - look at the quilting - you've quilted the leaves that used to be there but have now fallen. And the bird has gone away - you've quilted what used to be there." He saw something I didn't see or intend, but I like it! Yeah sometimes he surprises me:)

Wednesday, August 18, 2010

Tree finished


This morning I put the finishing stitches on the binding of my tree applique mini quilt. You can see the little tree started in this post.
I especially love the quilting on the trunk - I tried to make it look like knots in wood and I think it kind of does!
So now it is living happily on my slowly growing wall of mini quilts!
I have been very enamored with trees as of late. I think there are some more tree quilts in me to come! Actually, watch this space because I KNOW there are more to come!!

Monday, August 16, 2010

A different kind of Applique

Wow has it really been a month since my last post? Time flies!

So I spent this weekend doing a different kind of applique...fabric decoupage. It's still applique in the sense that you are applying fabric on top of something, and it sure was fun!

It all started when my daughter decided she didn't want this bookcase anymore. I wonder why?

Over the last few years it had become covered in nail polish, permanent marker, lipstick, scratched, you name it. My first thought was to give it a good sanding and paint it. Then I thought about how much work that would be given how damaged it was, and I began to wish there was a way I could just cover it up. Then I thought, hmmmm people decoupage things like this with paper all the time - why not use fabric?! So I grabbed a bunch of scraps, a bottle of Mod Podge and went to town! And I LOVE it! It's now in the kitchen/hallway with my cookbooks on it.


My daughter is quite in love with it now and wishes she had it back. I told her that when she can show me that she can look after things I'll think about it:)

So since that project was a success I started to get the Mod Podge fever and was looking around for something else to fix up. I had this old cupboard that I got from a friend when she moved a few months back. (sorry, it's the only 'before' photo I could find - I was using it to hold my fabric scraps while I did the bookcase!)
It was old, black, (yes I know black is good, but this was definitely past it's prime!), banged up, broken, and covered in dirt and cobwebs (it had been in my garage) but I had kept it because it's just a good size to have and I could see the potential in it.

So after a good cleaning, I fixed the broken drawer and back and bottom of the cupboard, primed it, and spray painted it green. I also bought new knobs for it. But it still needed more! I distressed all the edges with sandpaper, and I found a piece of Anna Maria Horner Garden Party fabric that I have been saving because it's one of my favorite prints ever, measured, cut, and pulled out the Mod Podge again! Several coats of Mod Podge and spray varnish/sealer later, I have a gorgeous new cupboard in my living room! It's housing all our board games and takes up less space than the coffee table I had there before.


So you see, applique doesn't always have to involve a needle and thread!